Outlook: Manage autocomplete suggestions
Applies To: Outlook for Office 365 Outlook 2016 Outlook 2013 Outlook 2010
When you want to add recipients to an Outlook email message, you can select the To, Cc, and Bcc buttons to choose a recipient from your contacts or manually type the address. If you type the address in the To, Cc, or Bcc boxes, you'll notice that Outlook provides suggestions as you type. These suggestions are stored in the Auto-Complete List.
Outlook builds the Auto-Complete List by saving the names and addresses of recipients in email messages you've previously sent. As the list grows, so does the number of suggestions that are offered as possible entries. You can trim the list by removing one or more recipients, or you can turn off Auto-Complete List completely.
(1) Use the Auto-Complete List
By default, the Auto-Complete List option is turned on. As you begin to type a name in a To, Cc, or Bcc box, the Auto-Complete List suggests a matching name or address.
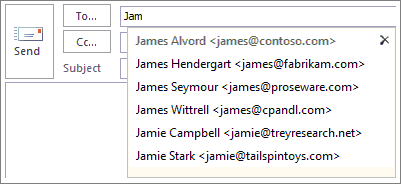
If you type a "J" character in one of the recipient fields, for example, the list presents suggested matches and shows all names in your list that begin with "J." The list is refined with each character you type. So if you end by typing "Jam," then Auto-Complete List might make suggestions similar to what you see in the following image.
With each email you write, additional message recipients are added to the Auto-Complete List.
(2) Turn off Auto-Complete List
In two steps you can stop the Auto-Complete List from suggesting email recipients.
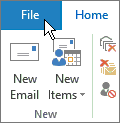
On the File tab, choose Options > Mail.
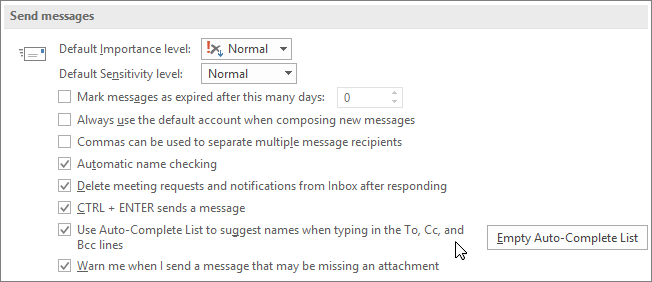
Under Send messages, clear the Use Auto-Complete List to suggest names when typing in the To, Cc, and Bcc lines check box.
(3) Delete one or more suggested recipients in the Auto-Complete List
You can remove one or more recipients that show up as suggestions in the Auto-Complete List.
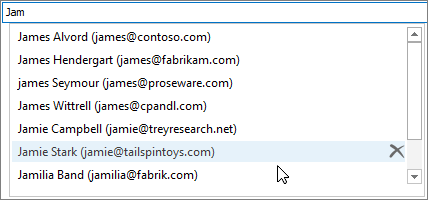
Enter one or more characters in the To, Cc, or Bcc boxes. Then in the Auto-Complete List that appears, select the unwanted suggested recipient by using the arrow keys or by hovering your mouse over the name you want to remove.
Choose or press Delete.
Tip: Once a recipient name is removed, it won't appear again in the Auto-Complete List unless you deliberately select it from your Contacts list or type the address in manually. These actions will add the address to the Auto-Complete List again. If you want to permanently remove a recipient from your Contacts list, see delete a contact.
(4) Clear the Auto-Complete List
You can clear all entries currently in the Auto-Complete List.
On the File tab, choose Options > Mail.
Under Send messages, choose Empty Auto-Complete List.
Choose Yes to confirm you want to empty the list.


